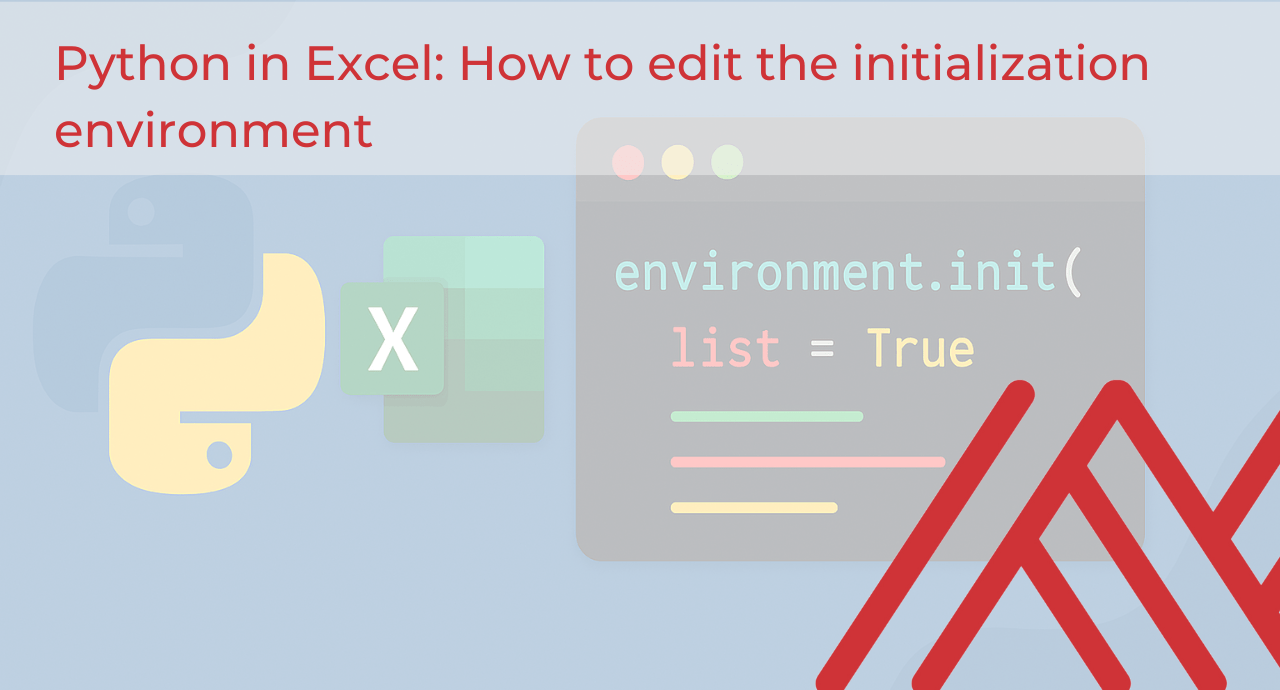
In an earlier post I talked about the Python in Excel initialization environment:
I likened it to the starting lineup of packages that load every time you open a workbook. It’s what gives you access to pandas, seaborn, and all the other core tools right inside Excel, along with some behind-the-scenes plumbing that lets Python and Excel talk to each other.
As of October 2025, you can now customize this environment. That means you can decide which libraries, helper functions, and even your own custom classes load automatically whenever the workbook opens.
In practice, this opens up a lot of fun possibilities. You can preload machine learning packages, set global formatting so every chart and table looks the way you want, or even create little interactive summaries that pop up when you hover over a cell.
We’ll try a few of these ideas using the mpg dataset, a simple but useful sample of car data. You can follow along with the exercise file below.
1. Preload extra packages
The first thing we can do with editable initialization is call in extra packages.
Keep in mind that Python in Excel doesn’t include everything yet. If you want to see which packages are currently available, check out the below post:
For example, we might want to use scikit-learn to run a quick linear regression. We can add it to our initialization so it’s always ready whenever we open the workbook.
Once that line is in the initialization editor, you can use scikit-learn like any other built-in library.

While you might choose to add imports, I wouldn’t recommend removing anything that’s there by default. Some of it might look random, but a lot of it is important plumbing that makes Python in Excel work properly. Packages like excel handle how data moves between cells and Python, and libraries like pandas and numpy are what most of Excel’s Python features rely on under the hood.
2. Define reusable helper functions
The next thing we can do with editable initialization is add a few helper functions that you find yourself writing over and over.
Think of these like the “utility belt” of your Python in Excel setup. They’re small functions you can reuse across your workbook to clean up data, format values, or calculate common stats. Because they’re baked into your initialization, they’re ready to go every time you open the file.
Here’s an example of a couple we might add to this workbook:
The format_currency() function is great for any data you want to show as dollars and cents — maybe sales figures, costs, or anything you want to make presentation-ready. And kpi_summary() gives you a quick way to summarize your data without writing mean(), min(), and max() in separate cells.
Once these are part of your initialization, you can call them right in Excel like this:

To make sure our new cost-per-mile column is formatted a specific way, we can apply our formatting function right in the formula. Excel can handle formatting too, but this gives us a simple, formula-driven way to control how the output looks from Python.
If we want to be able to change the gas price easily and use it in other parts of the workbook, we can make it a global variable in our initialization. For example, we could add a line like
gas_price_per_gallon = 3.25in the initialization editor. That way, if the price changes later, we only have to update it once.

3. Set consistent styling defaults
Next, let’s set up a global look for our charts and tables:
What this does is establish a clean, consistent look for all of your seaborn plots. The white grid background makes it easier to read values, the deep palette gives you balanced colors that work well for presentations, and the talk context increases font sizes so your charts are easier to see on slides or dashboards.
Once you add this to your initialization, every plot you make will follow the same styling automatically. You don’t have to restyle every chart or remember which color palette you used last time.
For example, this scatterplot of horsepower versus miles per gallon uses that same theme without any extra formatting in the code:

4. Create custom classes and tooltips
Last but not least, let’s look at something a little more advanced. So far, we’ve been adding functions, constants, and settings to our initialization. Those are great for quick tasks, but sometimes you want to bundle related things together: for example, a dataset and a few operations that always go with it.
That’s what this class does. It’s a small, reusable object that holds a dataset and a couple of ready-made actions you can run on it.
Here’s what’s happening.
The word class just means we’re defining a little container for data and the functions that go with it. In this case, the class is called QuickStats. When we create a new one, it expects a dataset (mpg_df) to be passed in. Inside the class, that dataset is cleaned up a bit, and a few summary numbers are calculated — how many rows there are, the average miles per gallon, and the average weight.
After that, the class has two built-in actions, called methods.
tooltip()creates a small DataFrame you can use as an at-a-glance summary in Excel.chart()creates a quick scatterplot showing horsepower versus miles per gallon.
Once this is in your initialization, you can use it in Excel like this:

That produces a neat little table card summarizing your data.
Or you can run:

to get a chart, automatically styled with the theme you set earlier.
The win here is that you’ve packaged up a repeatable analysis into something that feels like its own tool. You don’t need to re-type formulas or copy and paste code. You just call the class and it does the work for you.
This is a simple example of object-oriented programming, which just means building small, reusable “objects” that combine your data and the actions you take on it. You don’t need to master OOP to benefit from it, but it’s a great way to keep your analyses organized and consistent across workbooks.
Conclusion
Here’s the complete initialization code with everything we covered in this post:
When you edit your initialization script in Excel, make sure to save your changes before closing the editor. Then go to Formulas > Python > Reset > Reset Runtime for the changes to take effect.
That reset step is important because it restarts the Python engine that Excel uses in the background. Until you do that, Excel is still running the previous environment in memory, so your new imports, functions, or variables won’t load.
Editable initialization is one of those quiet but powerful upgrades to Python in Excel. It saves setup time, makes your workbooks more consistent, and helps you keep analysis tools, constants, and styles in one place.
The quick wins are being able to open any file and start working right away, with your preferred imports, formatting, and helper functions already loaded. The main highlight is consistency: you can build a repeatable workflow that looks and behaves the same across projects.